kitchen cabinet replacement Secrets
kitchen cabinet replacement Secrets
Blog Article

These can even be bought While using the adhesive previously placed on the back, or you may apply the adhesive yourself.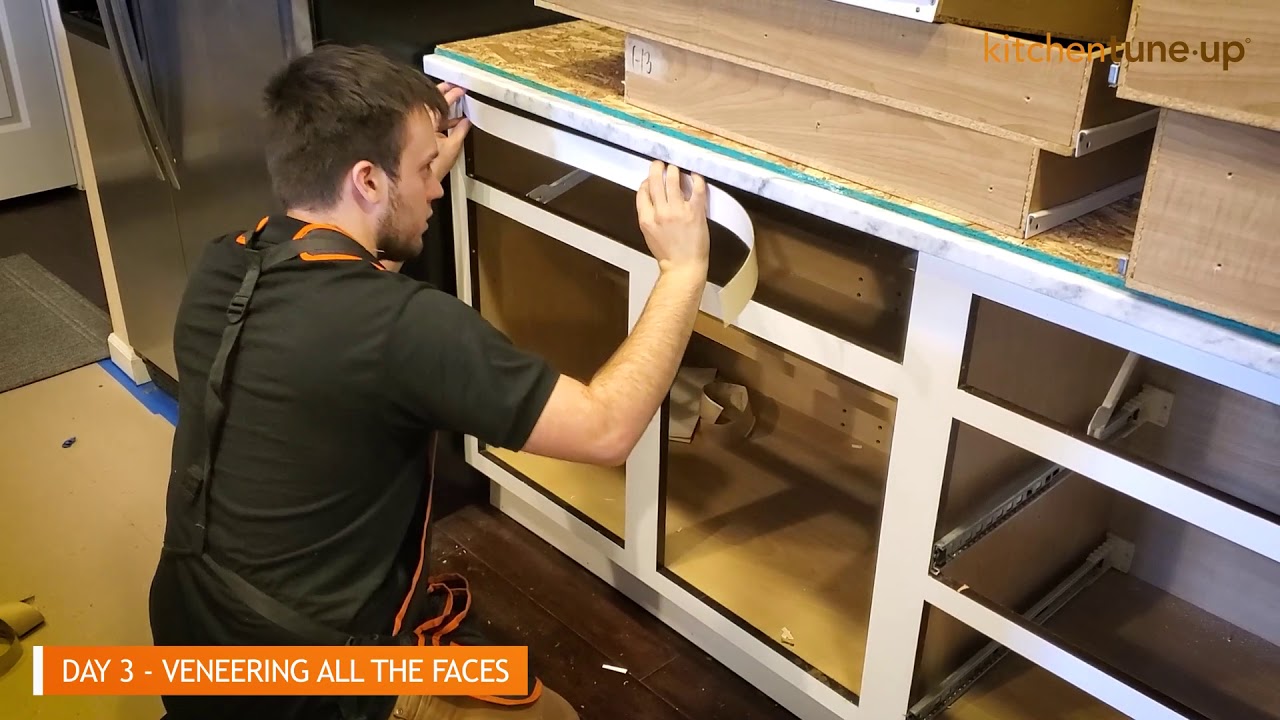
I was totally comfy getting them inside our home Once i would leave. I have a thirteen month aged daughter they usually were so accommodating and considerate of her also.
The aged laminate cabinets – The laminate necessary to be deglossed and roughed up right before priming and painting.
If you prefer to binge-watch Bricks ’n Blooms on Television set, we go more in-depth with excursions and posts on my YouTube channel. Would appreciate to hang out along with you there!
The youthful British designer reveals his best style principles for generating cosseting interiors that don't compromise on design and style
Do the job within a nicely-ventilated area. Use gloves in order to avoid getting stains on your hands. Open up the gel stain can and stir nicely. The gel stain is incredibly gloppy but will clean out after stirring.
Unlike an entire remodel—which includes taking away the prevailing cabinets and allows for format improvements—refacing retains the cabinet composition in position while offering it a fresh new, contemporary visual appeal. It’s also typically extra cost-powerful, much less disruptive, and a lot quicker than an entire replacement.
This Pro has handed a background check and continues to be verified of all applicable state-degree average price to reface cabinets licenses.
I planned to paint the hood vent that has a tender white chalk paint like the wood cabinets, but needed it to stand out from the rest of the cabinetry. So I in the long run made a decision to stain it.
Consent just isn't a issue of acquire. is not really now accepting support requests from HomeAdvisor in .
Make use of a paint brush or roller to use a thin layer of adhesive to the cabinet surface. Generally, it’s intelligent to use adhesive to your cabinet’s overall face frame to stop accidentally getting adhesive on the fresh veneer.
Open up the can and stir nicely until the gel topcoat smooths out. Have on gloves to help keep the item off of your arms.
Your first step in refacing the cabinets, is to attach cleanse plywood into the exposed cabinet sides. Immediately after cleaning and sanding the sides, implement the the right way sized plywood piece with carpenter's glue. Secure the plywood with end nails, sink the nail heads, then fill the holes with wood filler.
Clean your complete surface of your cabinets and face frames. Utilize a mild degreaser to eliminate any oils, Grime, and various residues from these surfaces as these impurities could reduce right adhesion on the veneer or panels. Ensure that you get into each individual corner.